If you’ve made it this far in The Elder Scrolls V: Skyrim, congratulations — you’re close to one of the most epic moments in the entire main questline. By the time you reach Skuldafn Temple during “The World-Eater’s Eyrie”, you’re not just dungeon crawling anymore; you’re preparing for the final showdown with Alduin.
But before Sovngarde opens its gates, Bethesda throws a few clever puzzles in your way. And let’s be honest — nothing kills the momentum like standing in a Draugr-infested room, spinning pillars endlessly and hoping you hit the right combination. That’s where I step in. I’ve broken down every Skuldafn puzzle solution so you can breeze through this section and get back to what matters — shouting dragons out of the sky.
Puzzle 1 – The Coffin Chamber Pillar Puzzle
The very first challenge hits after you deal with a group of Draugr near a room lined with coffins. Here’s the trap: once you walk further in, some of those coffins burst open, so my first piece of advice is simple — clear the room before messing with the puzzle.
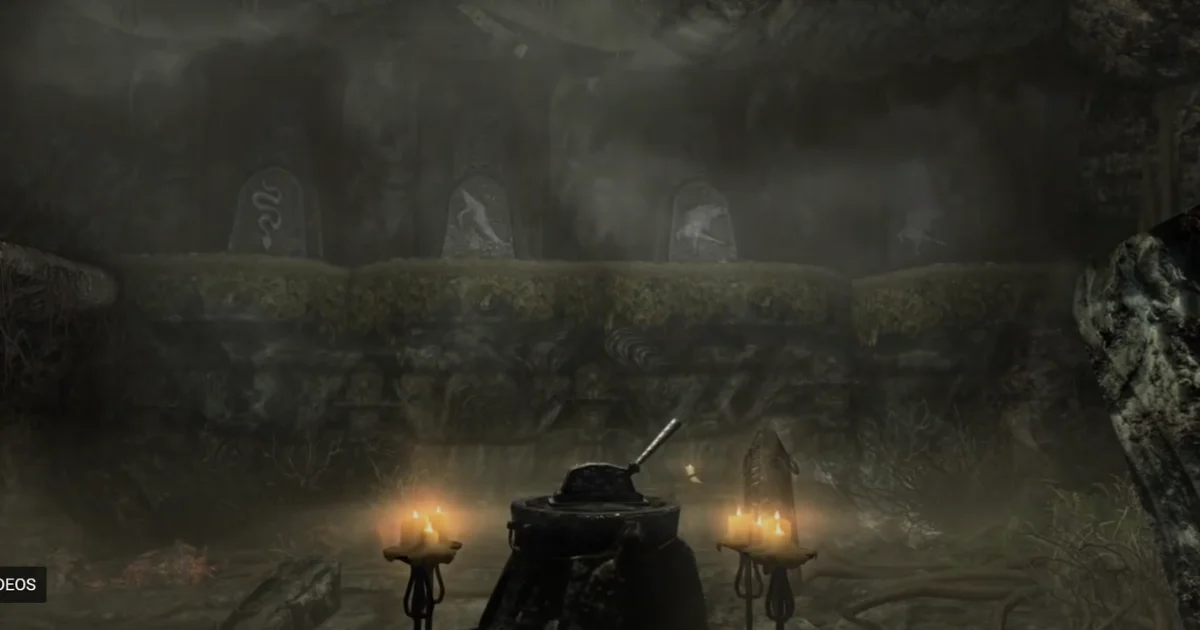
Now, let’s talk about the three standing pillars. Each one has rotating animal symbols: whale, snake, hawk. The trick is to align them properly to unlock the gates in the northern part of the chamber.
👉 Here’s the exact sequence you need:
- Rotate the western pillar so the whale symbol faces west.
- Rotate the eastern pillar so the snake symbol faces east.
- Rotate the center pillar so the hawk symbol faces north.
Pull the lever — boom, the right-side gate opens.
But you’re not done. For the left gate, turn the center pillar once more until the snake symbol points north. Pull the lever again and both gates will stay open.
💡 Pro tip: If you’re a loot-hunter, don’t skip the extra room behind the second gate. Bethesda loves hiding good rewards in these “optional” paths.
Must Read: The Best Skyrim Light Armor Sets Ranked Guide
Puzzle 2 – The Frostbite Spider Hallway Puzzle
The second puzzle waits for you right after that creepy room full of Frostbite Spiders (yeah, the ones that always ambush you when you least expect it). Once you’ve dealt with the nest, you’ll enter another chamber with three more rotating pillars.
This puzzle unlocks a drawbridge, and here’s where many players get tripped up because the symbols aren’t all visible from one angle. Don’t worry — I’ve got you covered with the exact combination.
👉 Set the pillars like this:
- The first-floor pillar by the door → rotate until the snake faces west.
- The southern pillar on the second floor → rotate until the hawk faces north.
- The northern pillar on the second floor → rotate until the whale faces south.
Once those are aligned, pull the lever in the center of the room and the drawbridge lowers, opening up the path forward.
💡 Combat tip: Draugr love to spawn nearby once you start fiddling with these mechanisms. I always recommend clearing enemies before finalizing the puzzle — nothing’s worse than lining up the last symbol only to get frost-shouted off a ledge.
Diamond Claw Door Puzzle – Unlocking the Path Forward
After crossing the drawbridge, you’ll eventually reach the infamous Diamond Claw Door, and this one is a little trickier than the pillar puzzles. First, you need to defeat the Draugr Death Overlord nearby. This enemy is tougher than the standard Draugr, so make sure your shouts, spells, and weapons are ready. Loot the Diamond Claw from its corpse — without this, the door won’t budge.
Once you have the claw, approach the puzzle on the door itself. The Diamond Claw functions as the key, but the challenge comes from aligning the three rotating rings on the door:
- Top ring: Fox
- Middle ring: Butterfly
- Bottom ring: Dragon
Turn each ring carefully and interact with the keyhole. Once the symbols match, the door swings open, granting you access to the final area of Skuldafn Temple — the gateway to Sovngarde.
💡 Insider tip: Don’t rush past the loot around this area. Chests often hide potions, gold, and valuable equipment that can make the fight against Alduin much smoother.
Must Read: Skyrim Vampire Cure Explained: How to Undo the Curse of Immortality
Why Skuldafn Puzzles Matter in Skyrim’s Story
Skuldafn Temple isn’t just a dungeon with tricky puzzles — it’s a storytelling device. Each challenge represents the Dragonborn’s preparation for confronting Alduin. These puzzles force you to pause, think, and navigate strategically, mirroring the careful planning needed to face the World-Eater himself.
By solving the Skuldafn puzzles efficiently, you save time and avoid unnecessary deaths, which keeps the momentum going as you approach Sovngarde. It’s not just about getting through the temple — it’s about experiencing Skyrim’s story in a way Bethesda designed it: tense, immersive, and rewarding.
Quick-Reference Chart – Skuldafn Puzzle Solutions
For gamers who want a fast scan without scrolling through paragraphs, here’s a handy chart summarizing all the Skuldafn puzzles:
| Puzzle | Location | Correct Symbols | Action to Unlock |
|---|---|---|---|
| Puzzle 1 | Coffin Chamber | West: Whale → West, Center: Hawk → North, East: Snake → East; then Center: Snake → North | Pull levers to open both gates |
| Puzzle 2 | Frostbite Spider Hallway | 1F Pillar: Snake → West, 2F South Pillar: Hawk → North, 2F North Pillar: Whale → South | Pull lever to lower drawbridge |
| Diamond Claw Door | Final Skuldafn Area | Top: Fox, Middle: Butterfly, Bottom: Dragon | Insert Diamond Claw and open door |
This quick-reference guide ensures you don’t have to memorize anything — just follow it step by step and you’ll breeze through Skuldafn Temple.
Must Read: Best Skyrim Modlist in 2025 for PC, Xbox, and PlayStation
Conclusion – Ready for Sovngarde
With these puzzle solutions in hand, you’re fully prepared to explore Skuldafn Temple without frustration. Each puzzle is designed to slow you down just enough to immerse you in the story, but with this guide, you can move confidently toward the final showdown with Alduin.
Remember, Skyrim rewards exploration, so even while following solutions, keep an eye out for hidden loot, secrets, and lore scattered throughout Skuldafn. Now go, Dragonborn, and claim your path to Sovngarde!

